After much research, I decided to assemble a keyboard using hand-picked parts.
The goals of this build were a bit lofty, but luckily I prevailed in the end:
- Cold-swappable switches in case I change my mind later
- Almost silent typing that would be safe for work
- Tactile feeling on the keys when typing
- The option to use backlighting at night
- A small footprint so I could bring the keyboard home for the weekend
- The board should be programmable and support multiple layouts
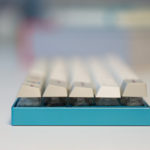
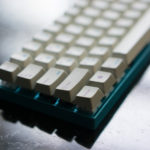
- The keyboard should be as flat as possible
- There should be no “ping” from the case
- There should be no flex in the PCB when installing switches
- Keycaps that fit Zealencios properly – Cherry profile thick keycaps
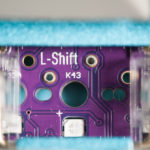
This led me to a few easy decisions: I would go with a ZealPC Zeal60 as it supported SMD LEDs, was programmable via QMK, was 60%. I’d also opt for Zealio 65g switches as they had great tactile response, and were fairly quiet when combined with Zealencios.
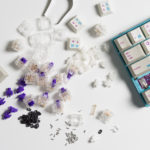
What I didn’t see coming was the arrival of the test Aristotle stems (via /r/mechmarket) and a last-minute purchase of JSpacers from The Van Keyboard. These were for two different projects, respectively: Gatistoles and Jailhoused Outemu blues. During those projects I got to wondering if I could mix the results, and sure enough, figured out a way to add JSpacers to Gatistoles. Not satisfied, I ended up trying this same mod in a Zealio housing, and then to seal the deal, put some Zealencios on top. This led to a tactile switch that was very quiet – more so than a typical dome keyboard.

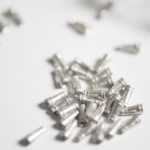
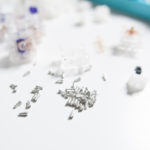
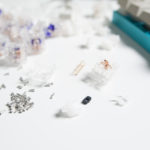
In order to be able to cold-swap switches as with the TeamWolf Zhuque+ and PC Gaming Master Race Mechanical Keyboard, I’d need to sort out a way to replicate the recepticles each of these boards implement. After doing a lot of research into LED sip sockets that might work, I stumbled across a Linus Tech Tips forum post about something called “holtites” which were used for this purpose. A few Reddit searches later I found out that the TE AMP connectors would fit the bill, and made a spur of the moment DigiKey order.


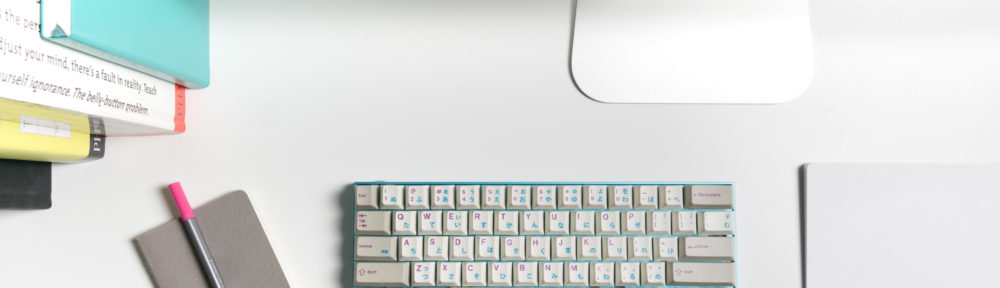
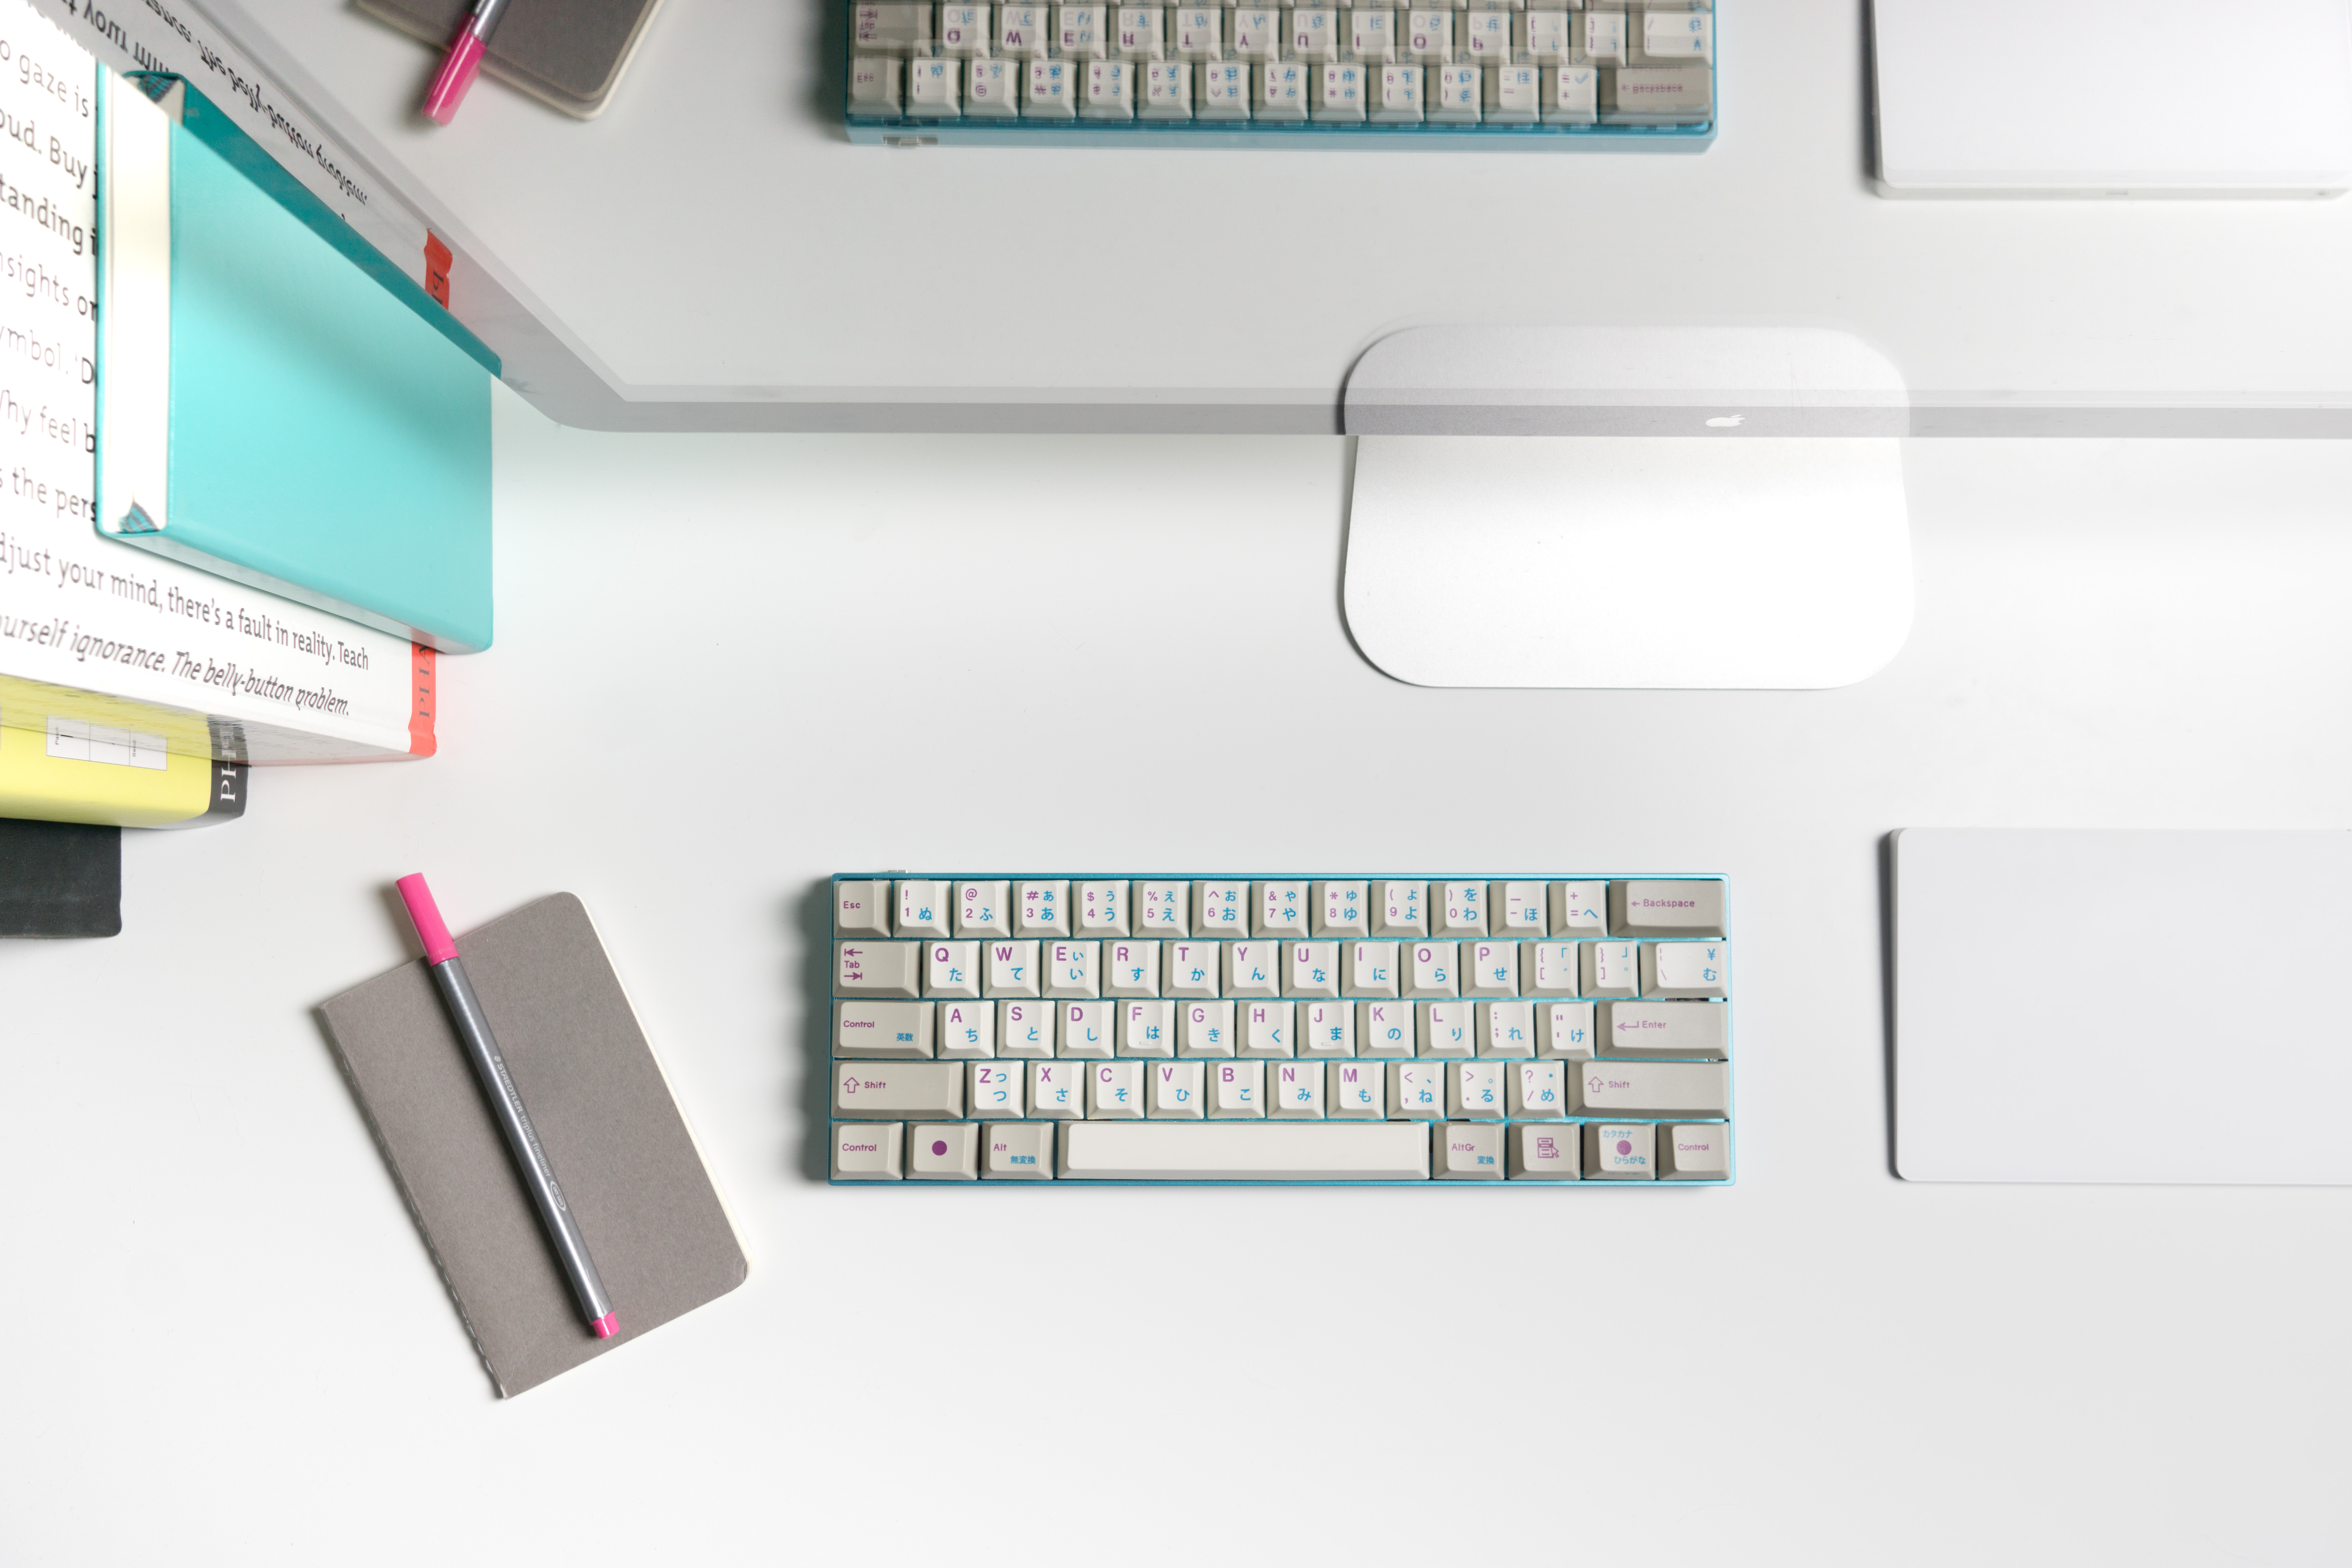
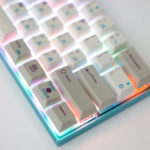
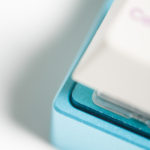
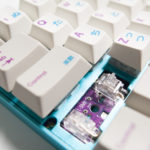
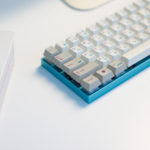
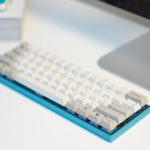
Now that I had the switches and board picked out, I was left with a tough decision regarding the case and plate. Nothing I could find actually had the proper mounting standoffs for the Zeal60 PCB, most were of the “Poker” variety, which were missing top screw standoffs, as well as one lower-left. It looked like I had to compromise, and seeing as most 60% cases seemed to be incredibly similar, I ended up going with a Sentraq aluminum case and plate based on looks alone. I ended up getting a cyan case and plate, as well as purple versions of the same, intending to try and colour match the Zeal60. It later turned out that I preferred the cyan varieties, which you’ll see in the shots.
The Sentraq case with the Zeal60 is not without problems: both cases prohibited me from screwing in the leftmost PCB screw, and both seemed to have the wrong thread on the top left standoff. Nothing altogether impossible to get around, but disconcerting all the same. Furthermore, the fit and finish of the top plate in the case wasn’t great, causing the right side to be less snug than the left. All of this to say: I’m still on the lookout for a case and plate that fit well together, and have not ruled out making my own.

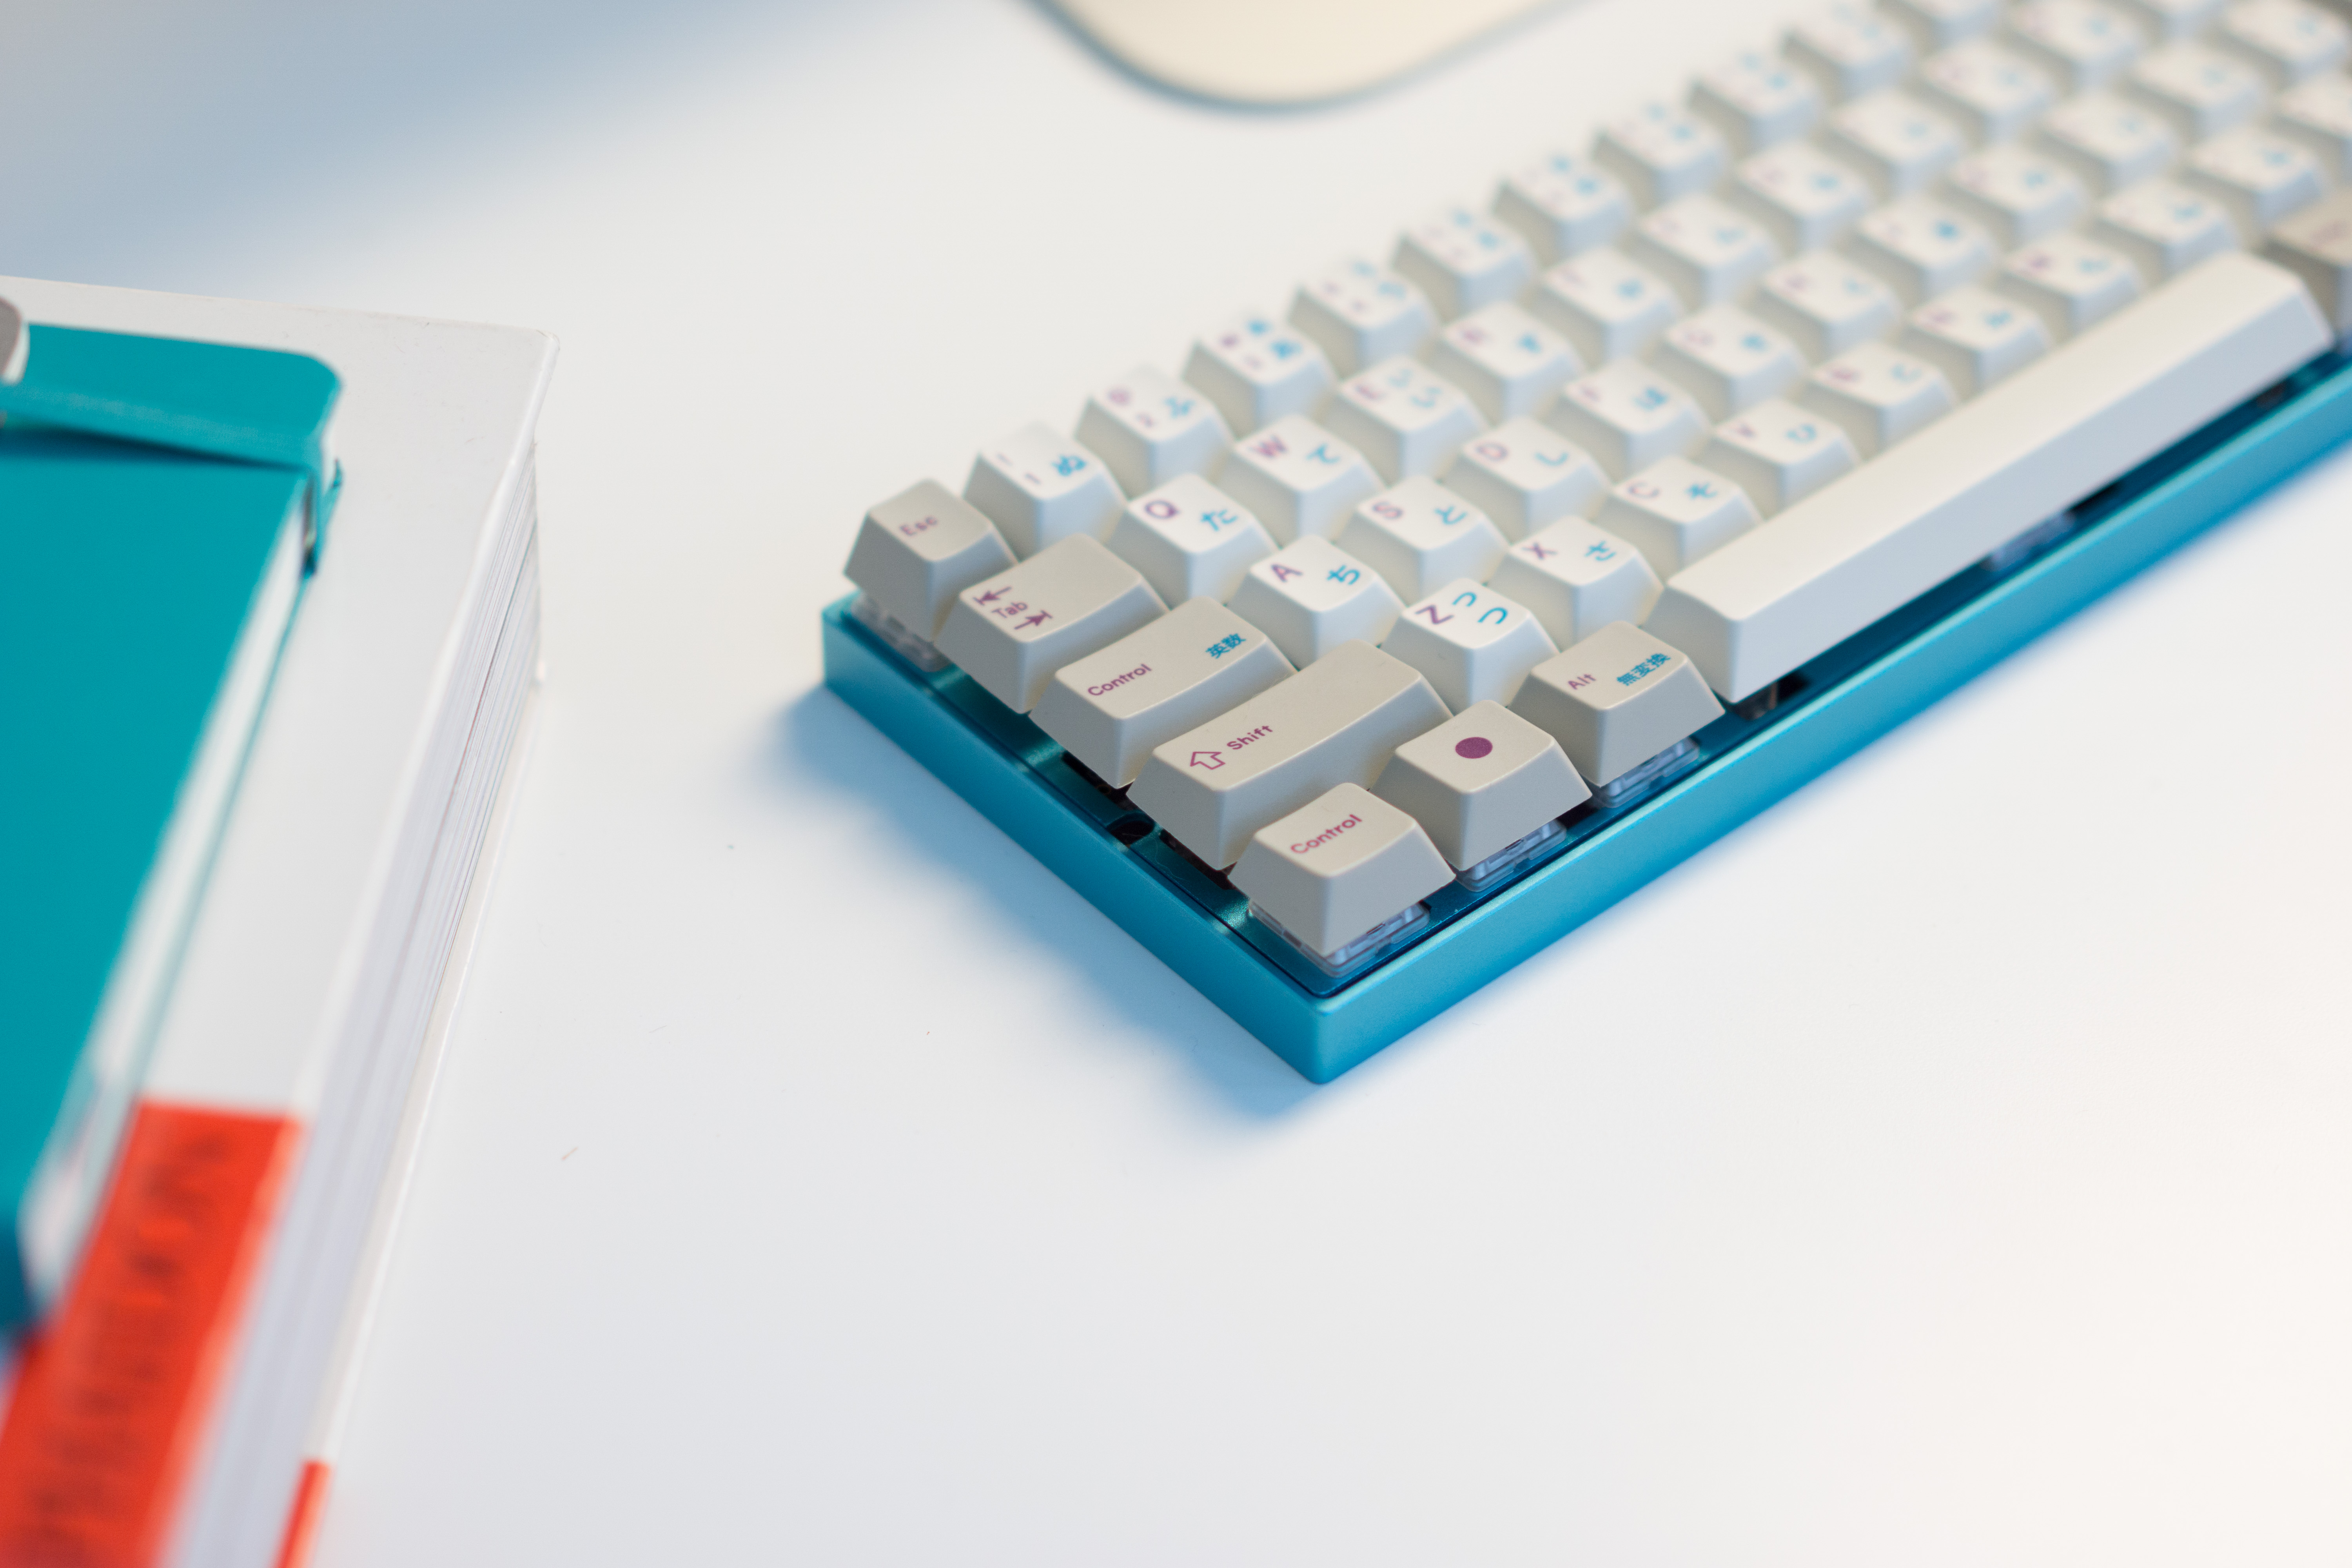
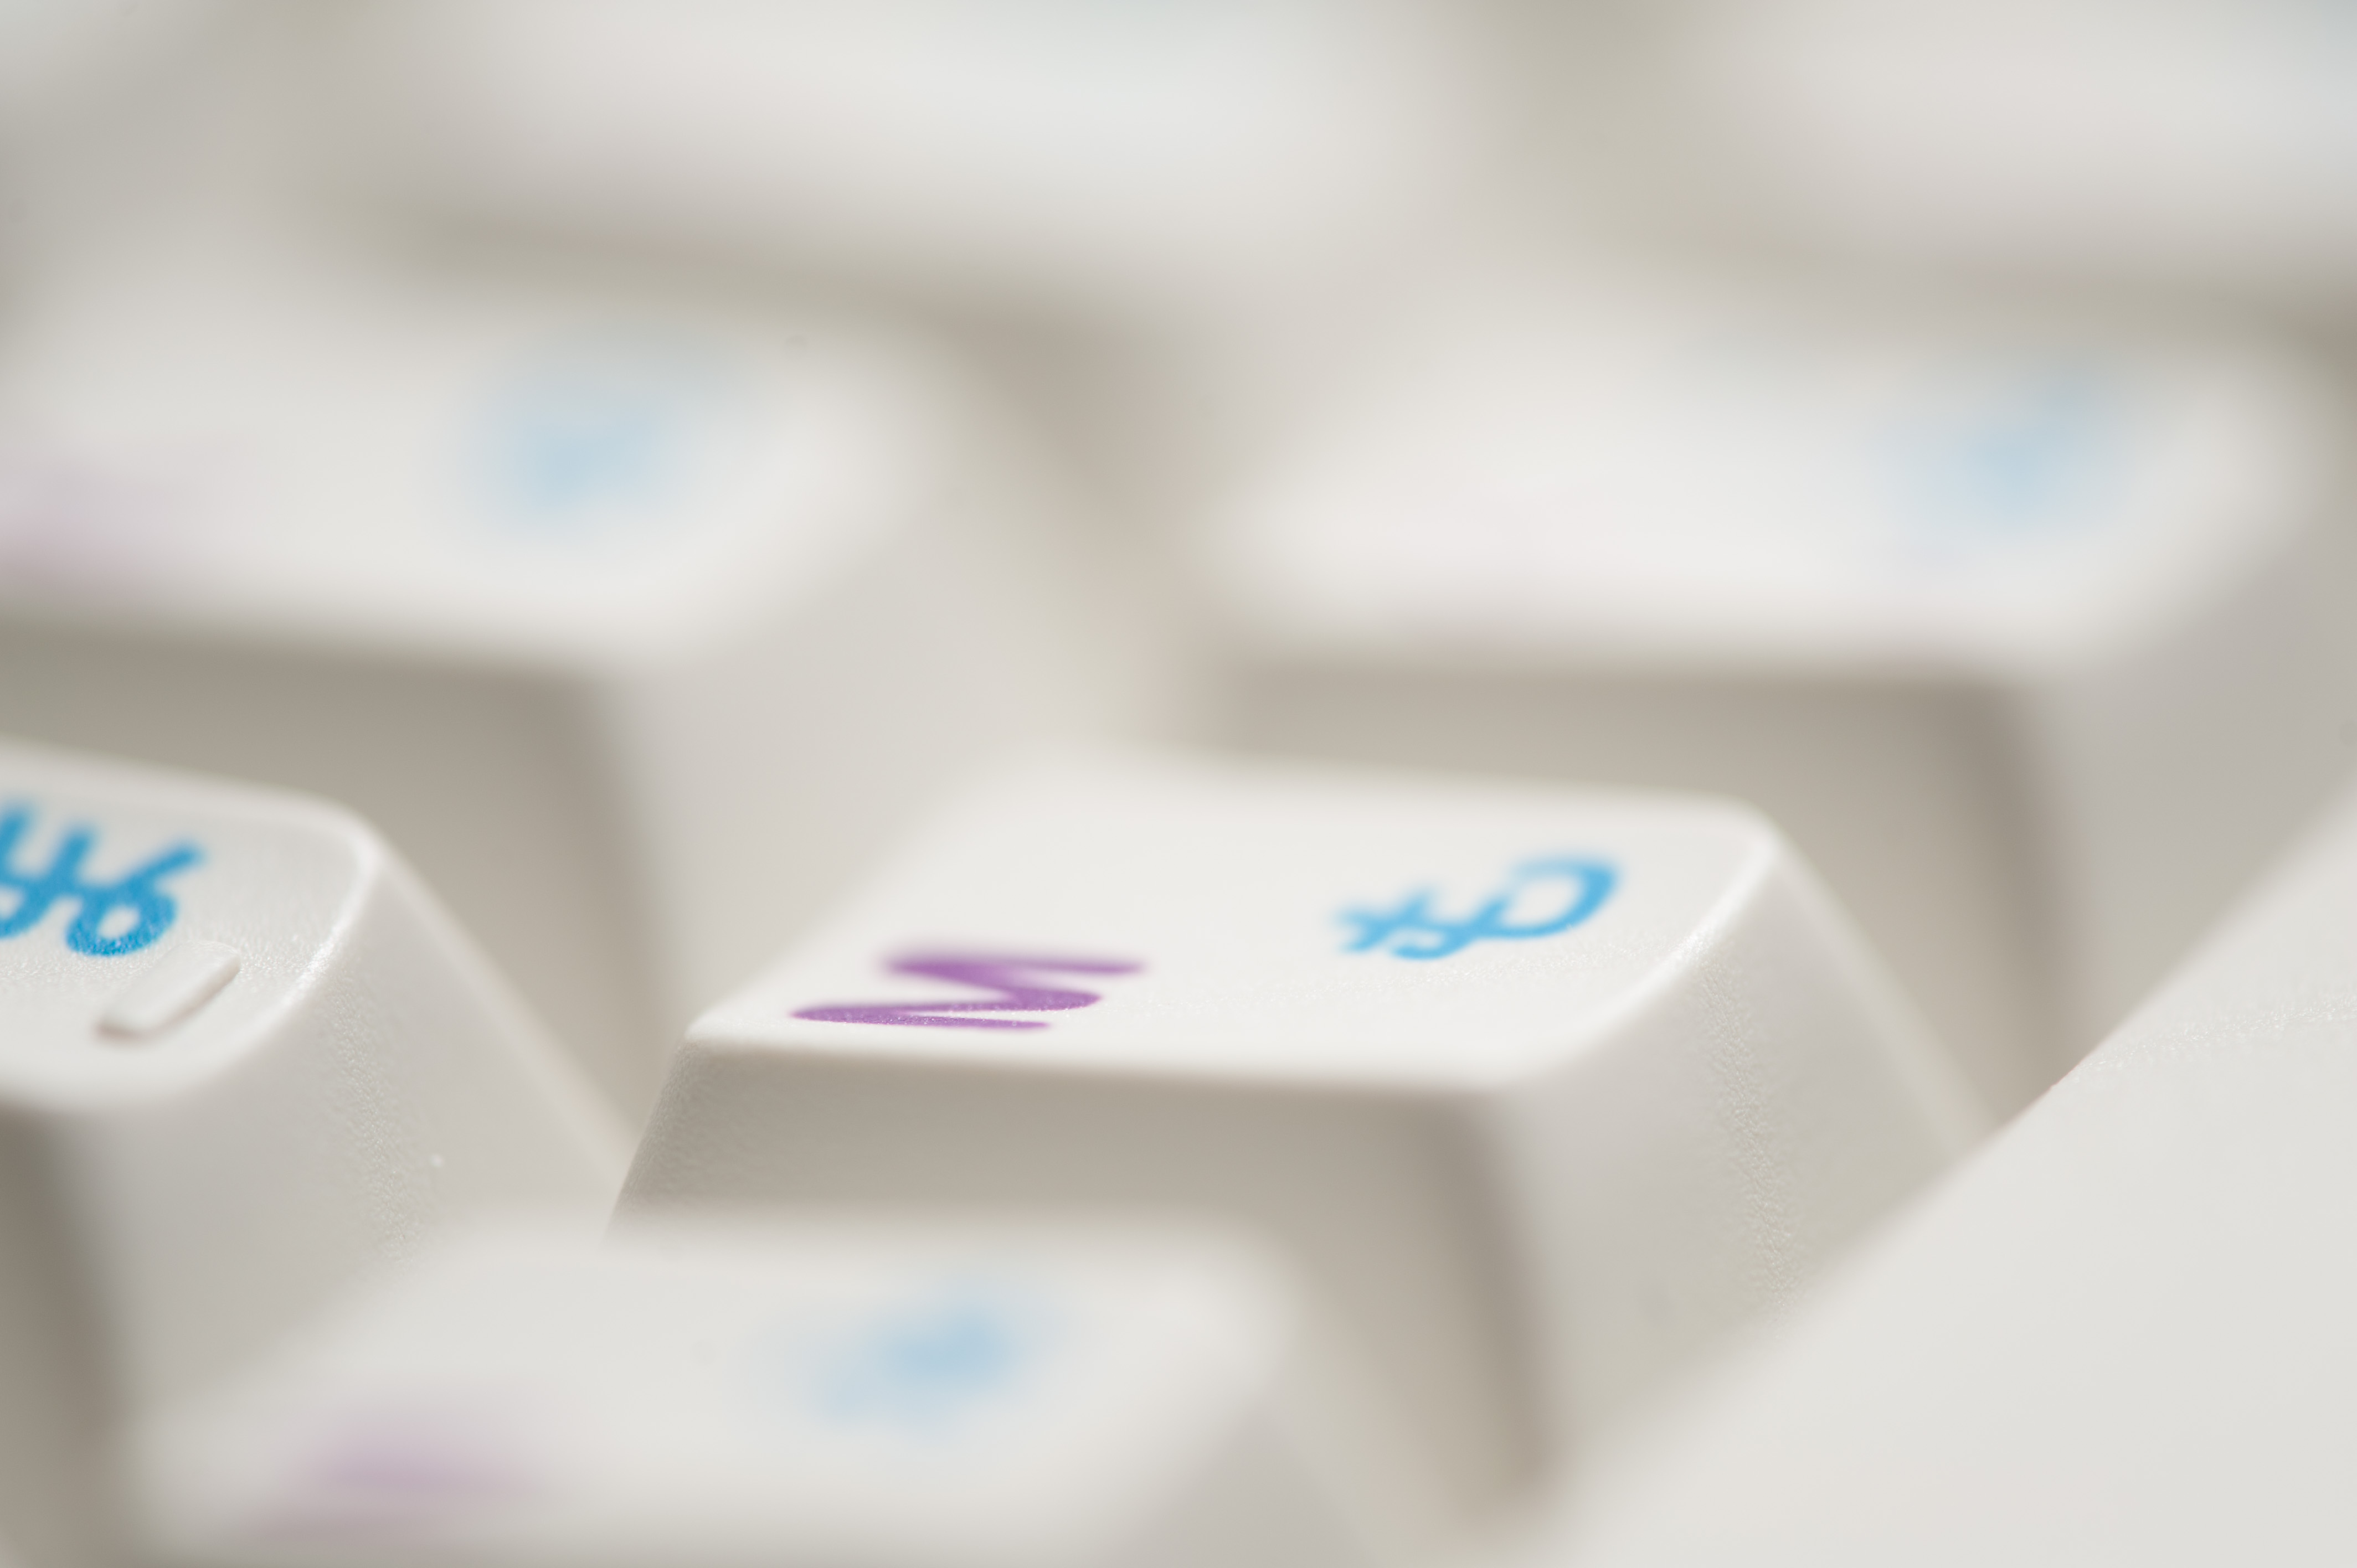
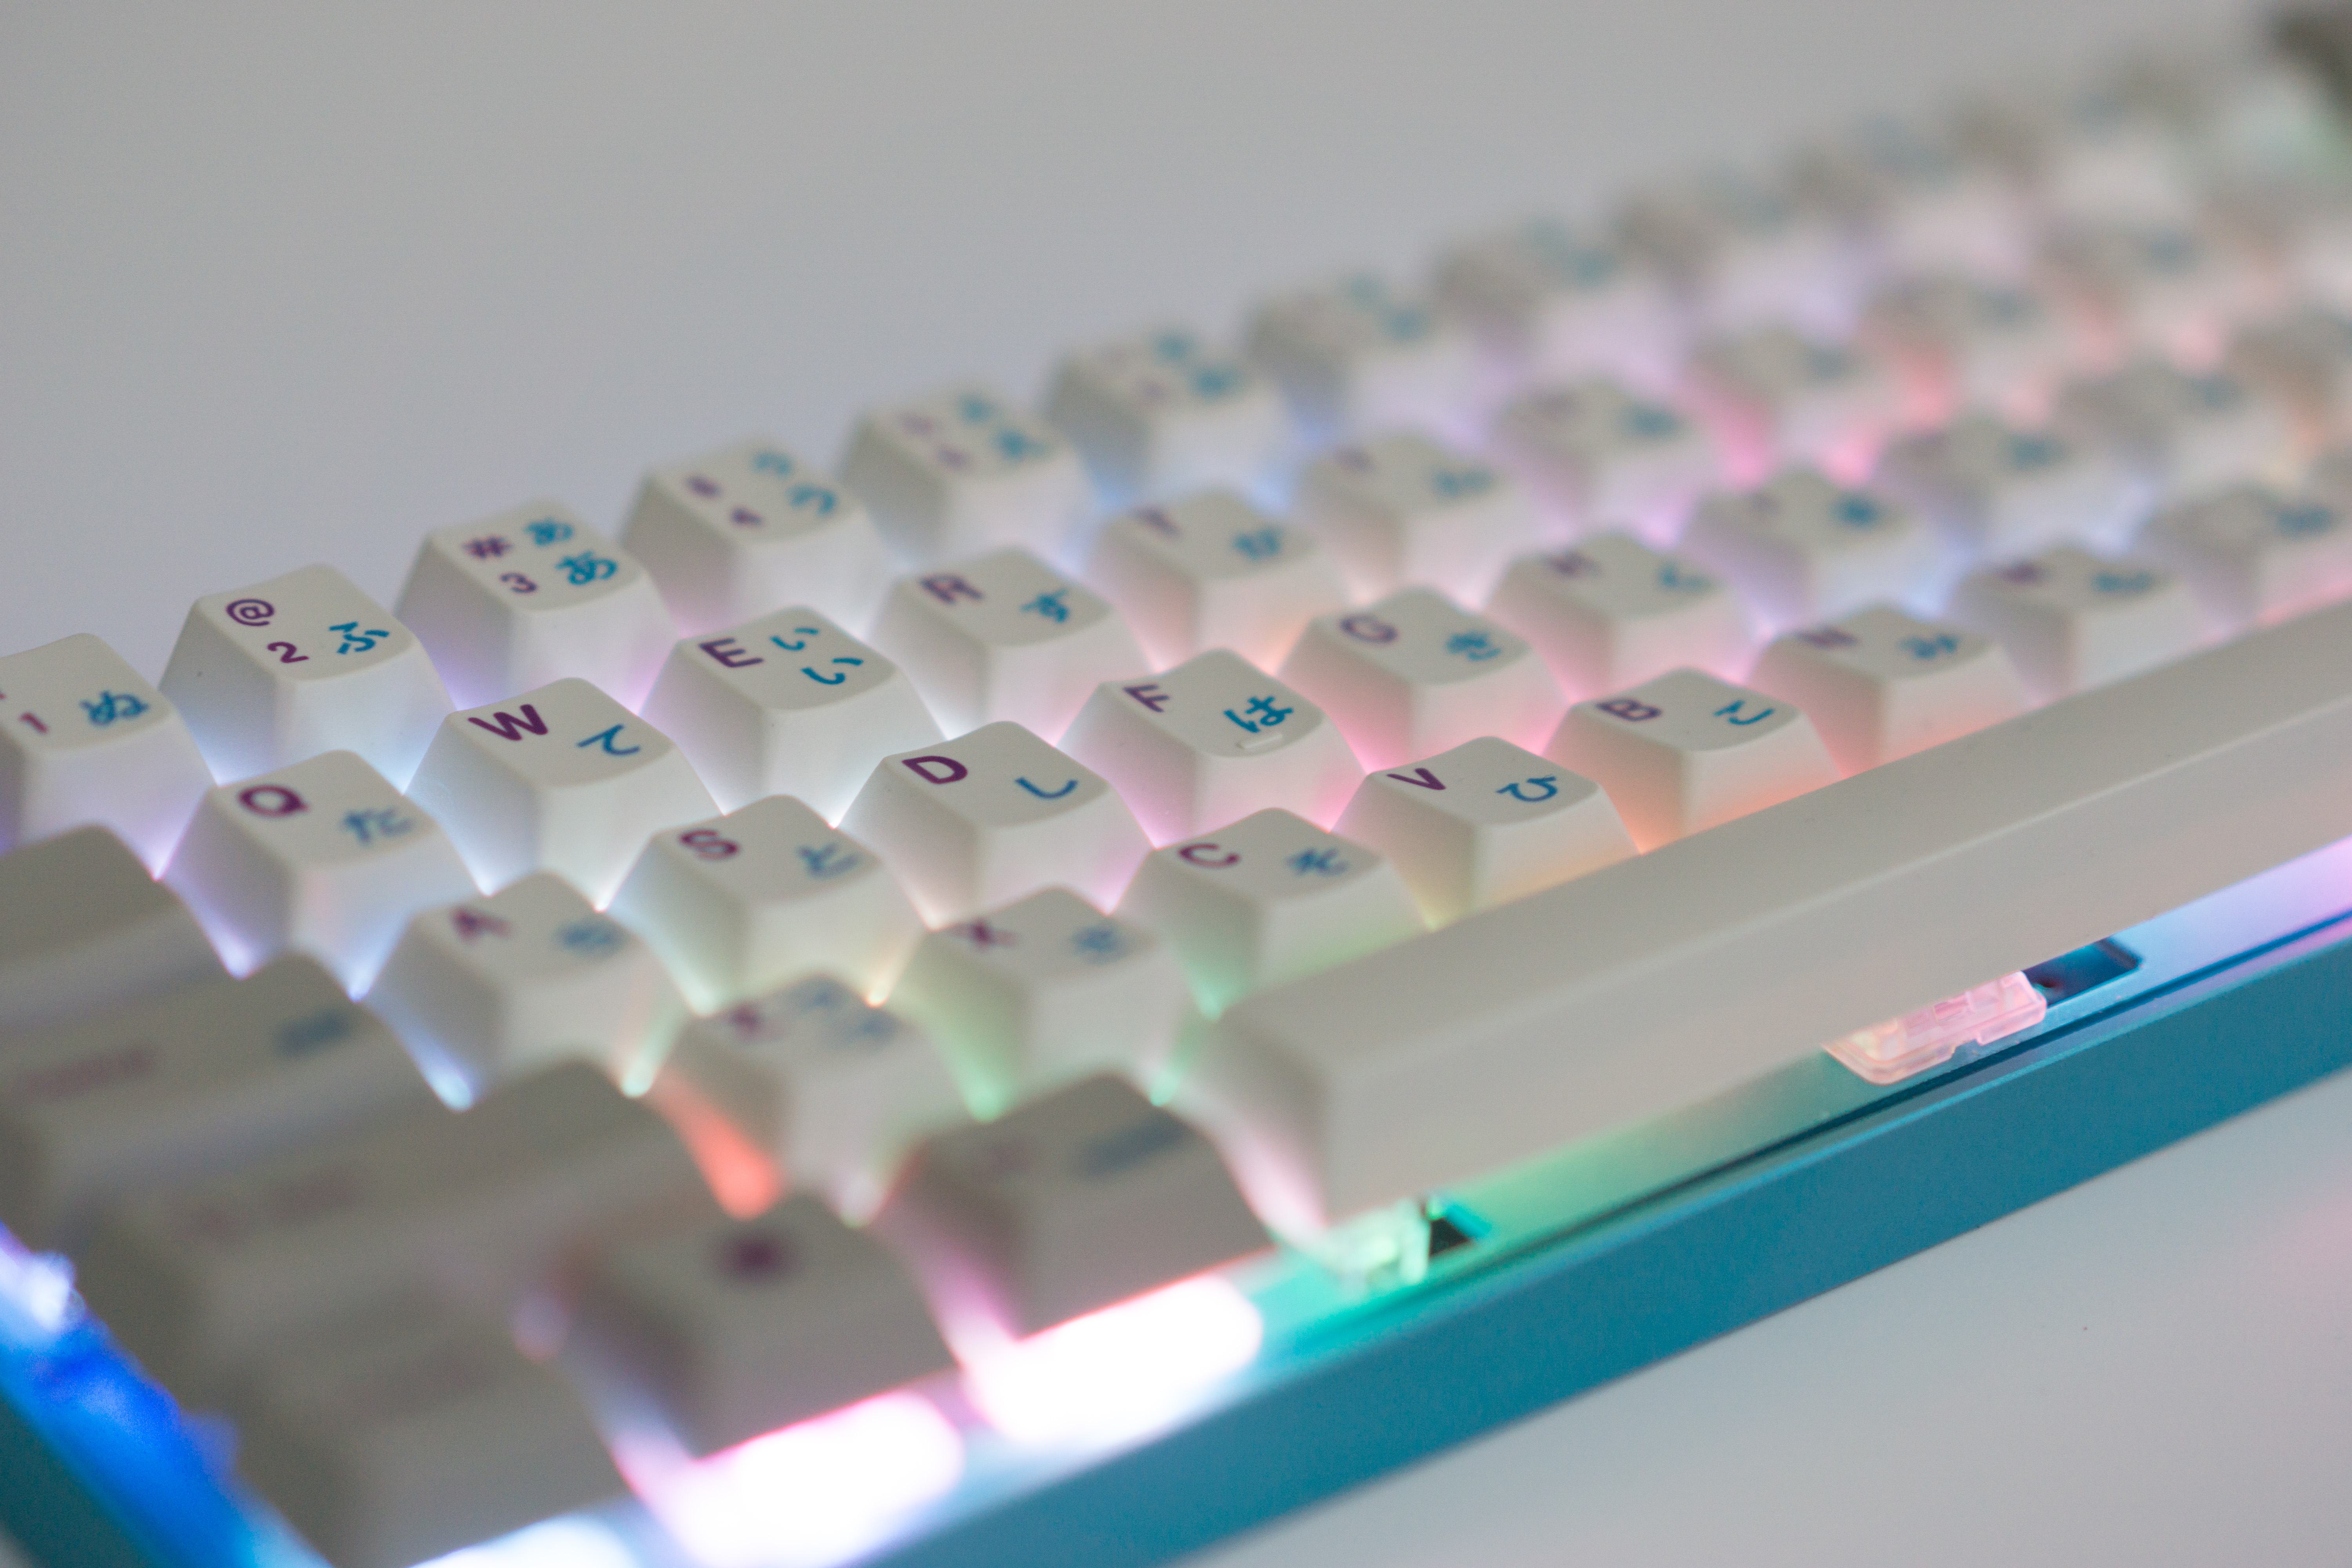
As for the keycaps, I searched all over, asked around and tried a few OEM samples and was not satisfied. I ended up purchasing an Originative Co Modern Beige purple set with kana legends which I am happy with in terms of looks, fit and sound, but am not sure they are fit for work. In other words – I’m still looking for a good set of keycaps. I’ve been told GMK might be the best call for the Aristotle stems, and as soon as I have a sample of them, I’ll report back.

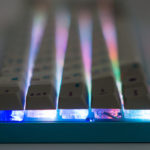
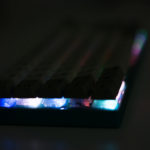
Finally, regarding the LEDs: though I was not at all interested in RGB LEDs (preferring white when possible), I ended up actually really liking the default rainbow profile (fn1+2). This is a bit colourful for most, but as I have them turned off most of the time, the assumption is that I’ll be the only one seeing them.
Gallery of the rest of the shots from this set:


Not sure why nobody else has commented on this one, this is a beautiful build!
I am currently waiting for my zeal60 pcb as well and found this to be a very helpful resource as I didn’t even know about holtites and I am certainly will be using those now.
Could you elaborate on how you got those into your pcb? The process does not seem to be that well documentated. Thanks!
May I ask you for a picture of the back side(not under) where it shows the usb connector? I want to know how low the case holds pcb. TIA
Curious, How did the AMP connectors work out long term? Any issues to speak of ?
Long-term, not great, but short term (months) more than enough to test different layouts and such. I ended up investing in a solder sucker/pump in order to to change things after soldering 🙂