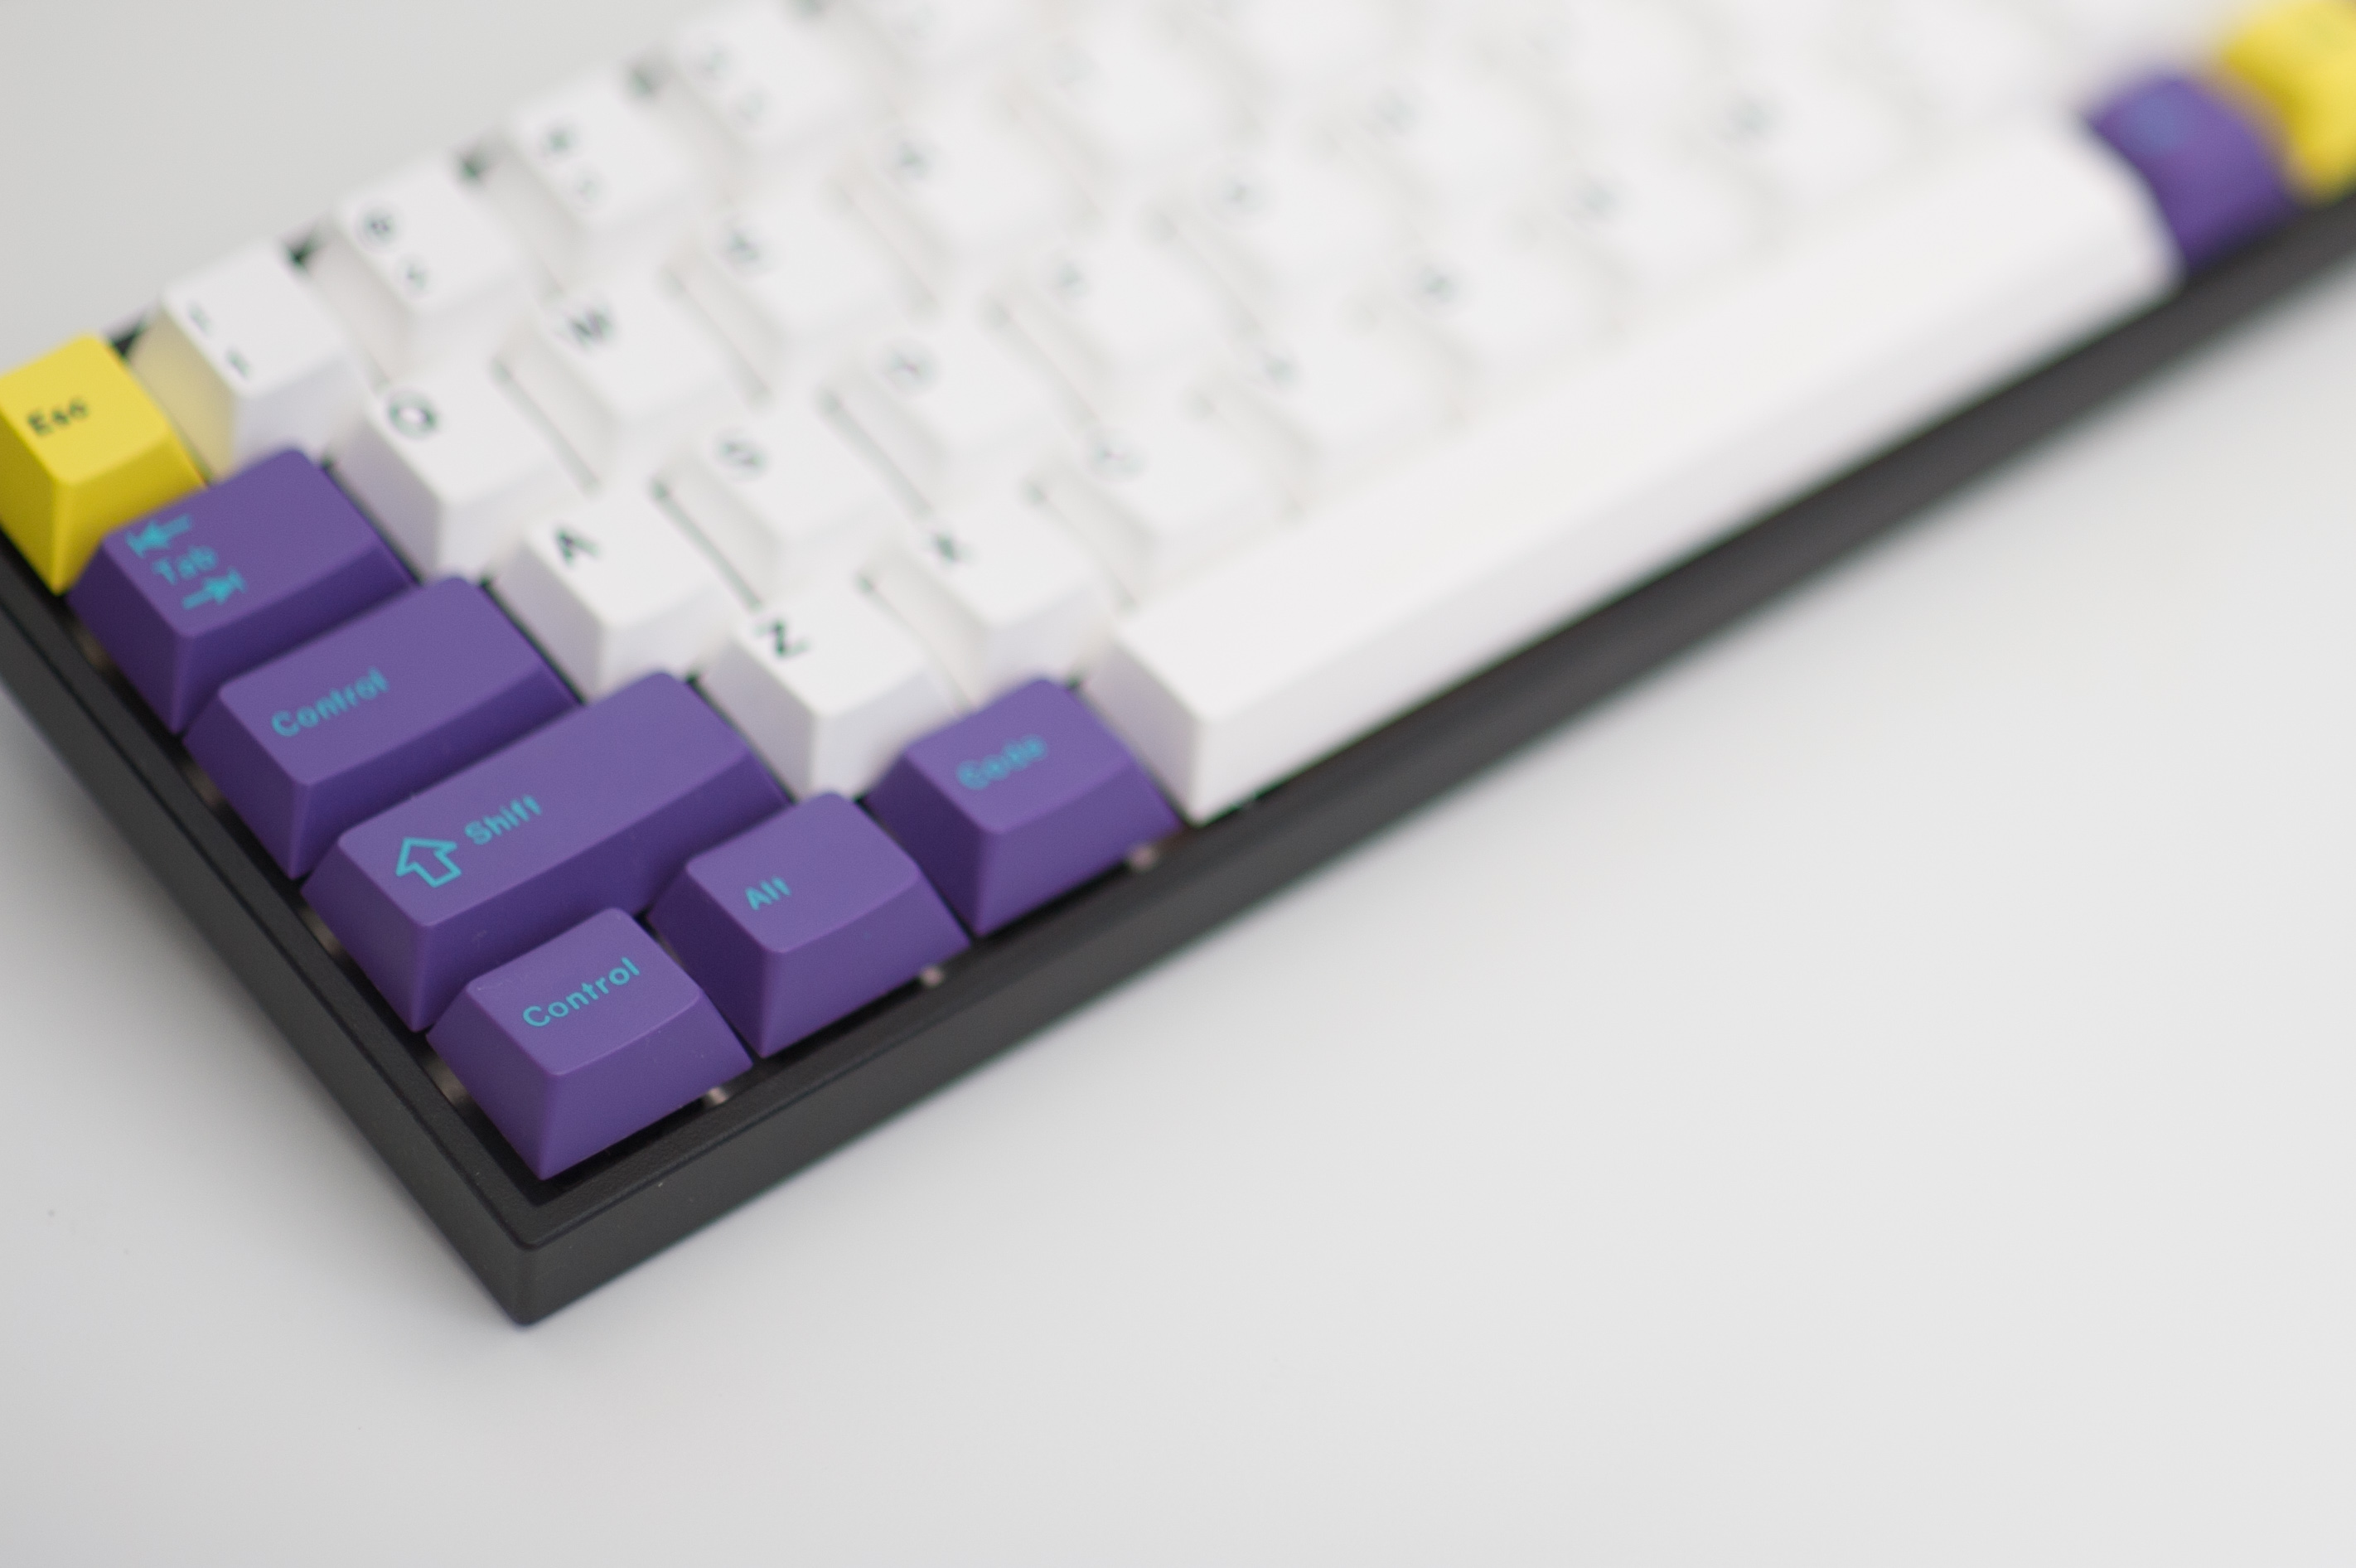
Interesting name for a “Tada 68” board, but it looks like this has a non-programmable PCB, unlike the “Saber 68” (new Tada 68).
That being said, it has most of what you want aside from the ability to set up function combos to send the four-key keyboard shortcuts.
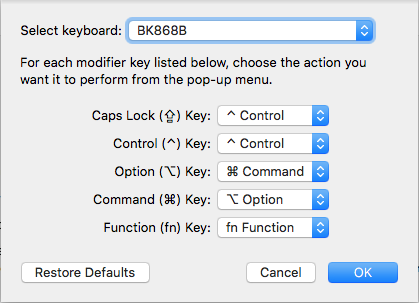
The easiest change is the alt/Windows key swap resulting in Command and Alt, which can be done in “Settings”, “keyboard”, “modifier keys”, then select “BK868B” (this cannot be renamed AFAIK, though you can give it a bluetooth device identifier, more on that a bit later 🙂 ).
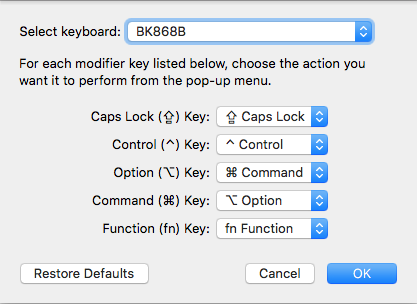
If you have a keyset with a control labelled “caps lock” key, you can optionally set the “caps” modifier to “control” in the settings as well while you’re here:
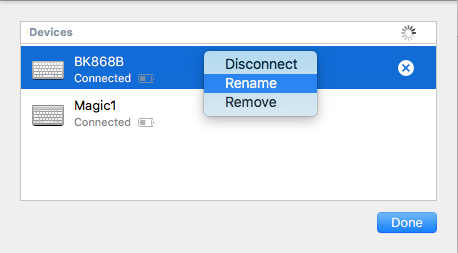
Now we can also rename the device to something more recognizable, via “setup bluetooth keyboard”, then selecting it from the keyboard list:
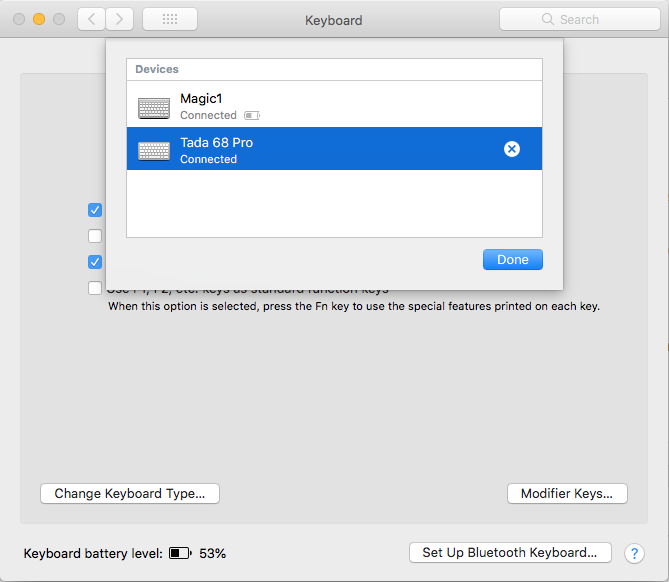
Now that we have it selected and renamed, we unfortunately don’t get battery levels, but it’s actually quite functional.
Bonus for Keyboard Maestro Users
If you want to setup desktop screenshot, area screenshot and area screenshot to desktop keys, and have set the caps-control swap above using Keyboard Maestro (or are OK using that far-away control bottom left, or on the far right, there are a couple of controls):
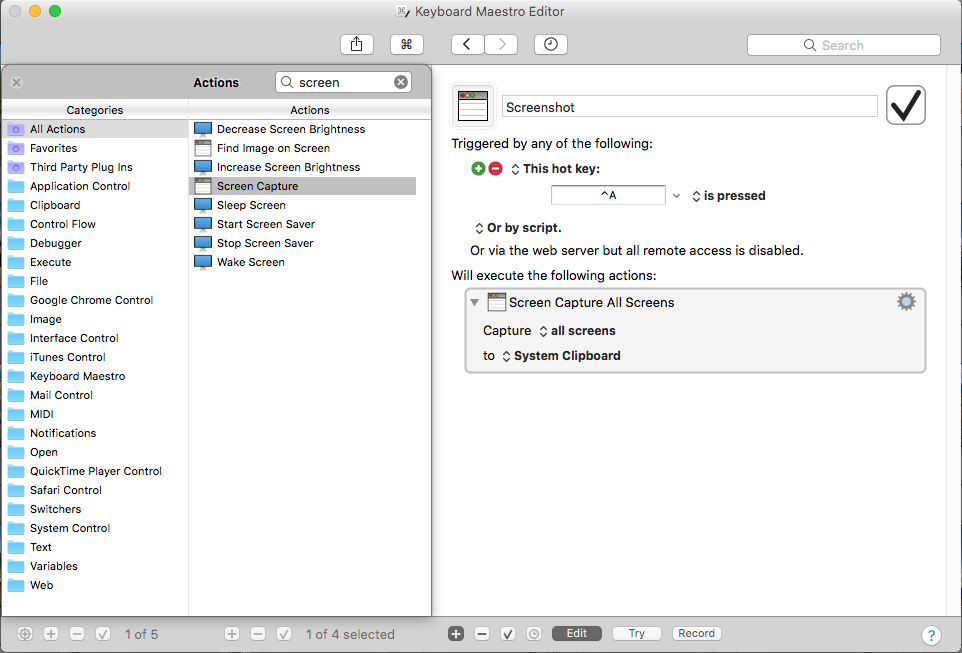
Here we’ll set up “control-a” where you’d hold control, and press the a key at the same time to grab a screenshots of all of your screens (or just the one if you’re on a laptop with an external monitor):
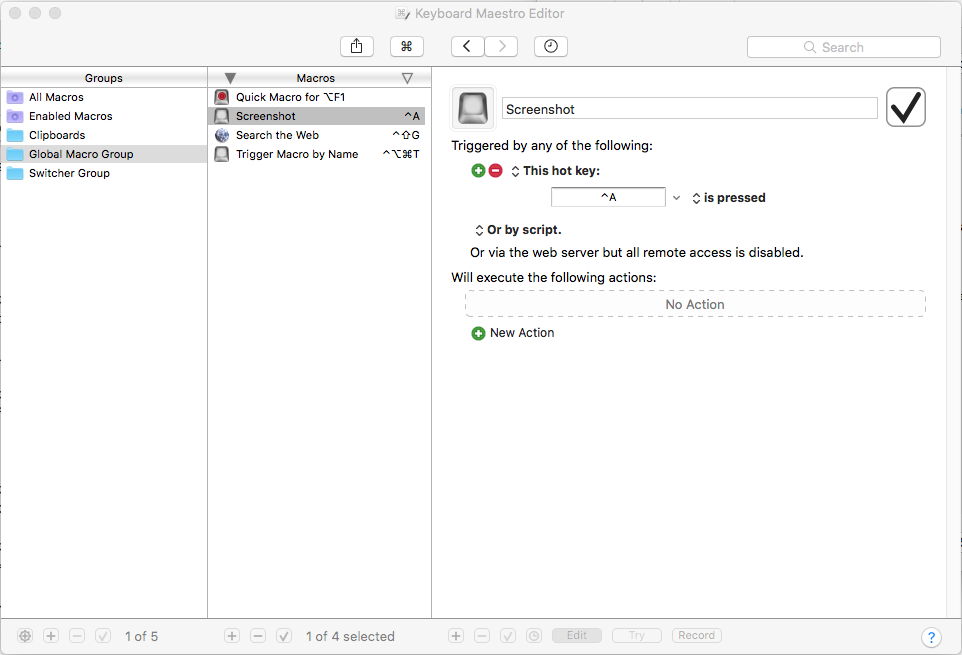
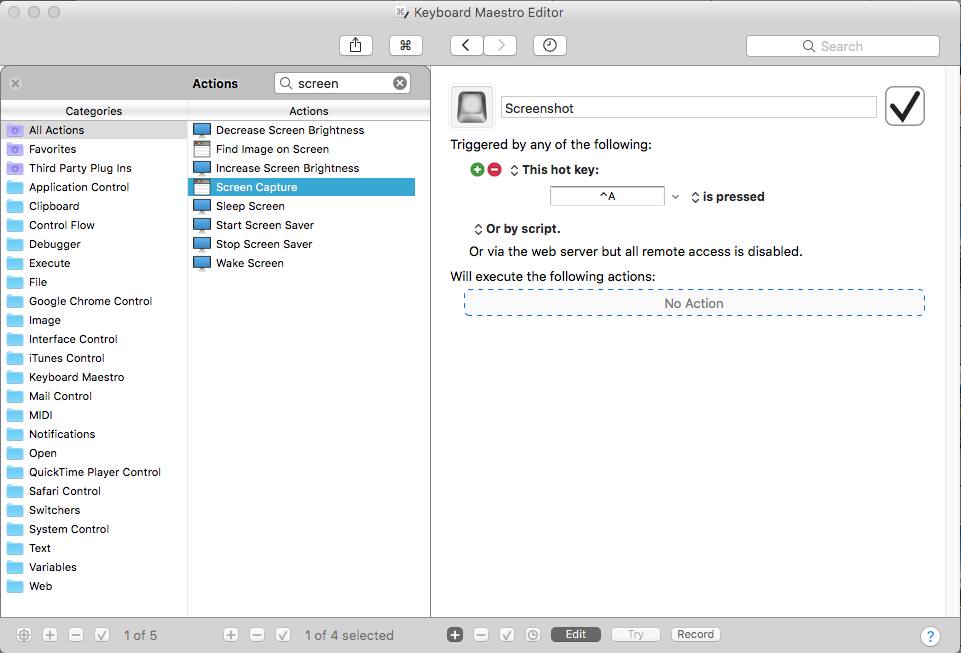
Capture your all (A) your screen(s) to the clipboard using control-a via the Keyboard Maestro built-in actions:
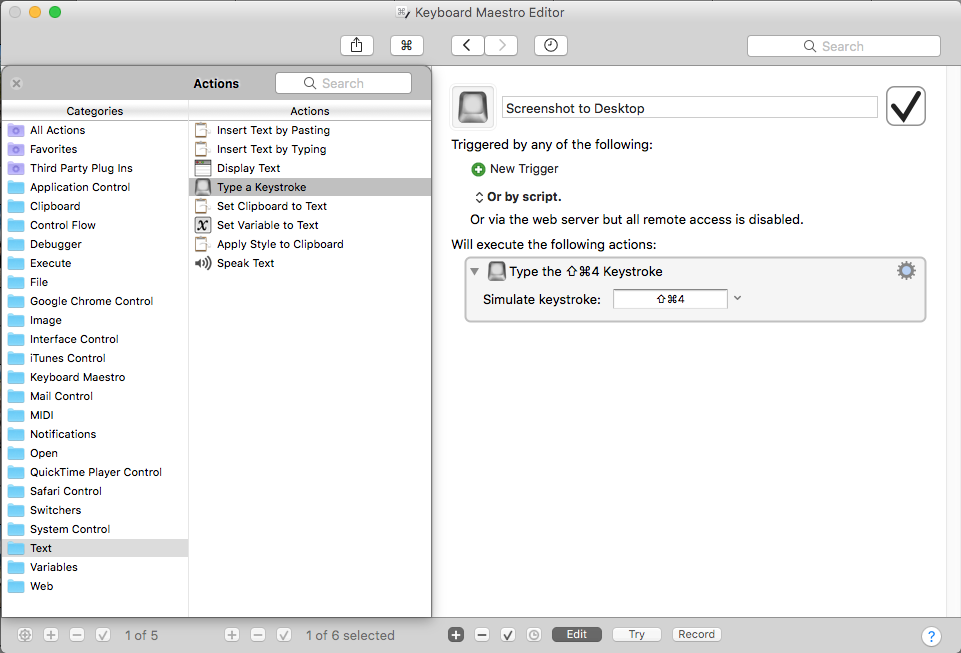
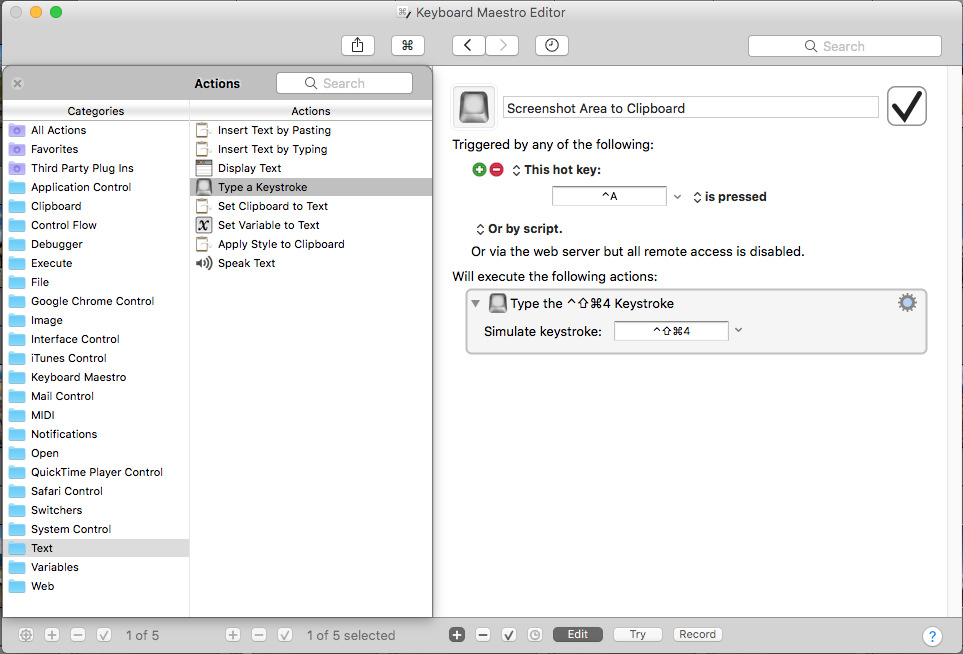
In the next example, we use “control+a” to map to “control+command+shift+4” in order to take a screengrab of an area (A) and store it in the clipboard. Your cursor will change, and the image is saved to your clipboard to paste into Slack, Gmail, etc.:
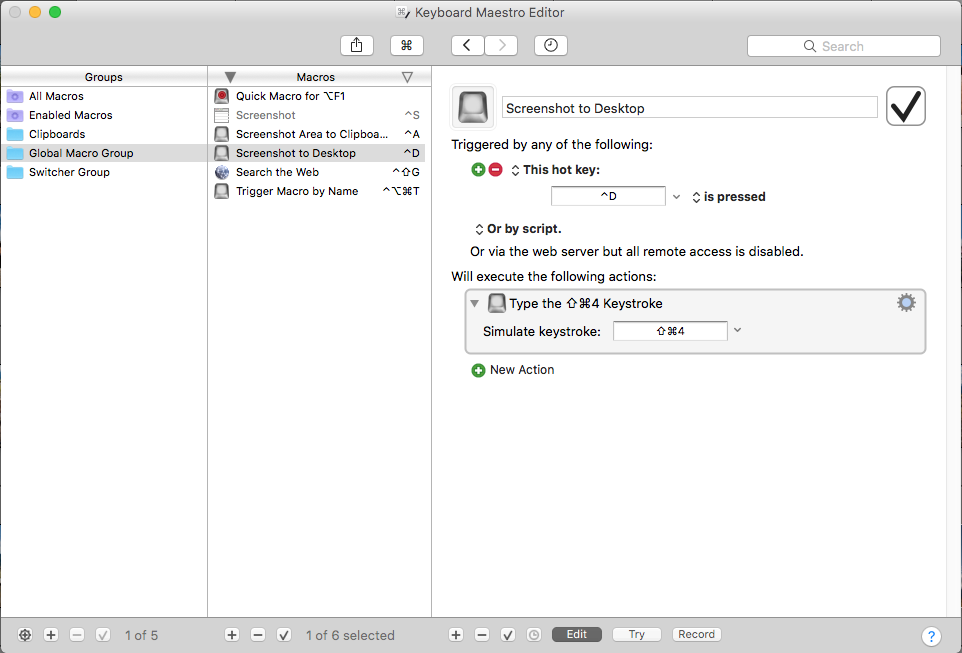
Setting up a control+d shortcut to save your screengrab area as a file on your desktop (D):